 Save to Pinterest
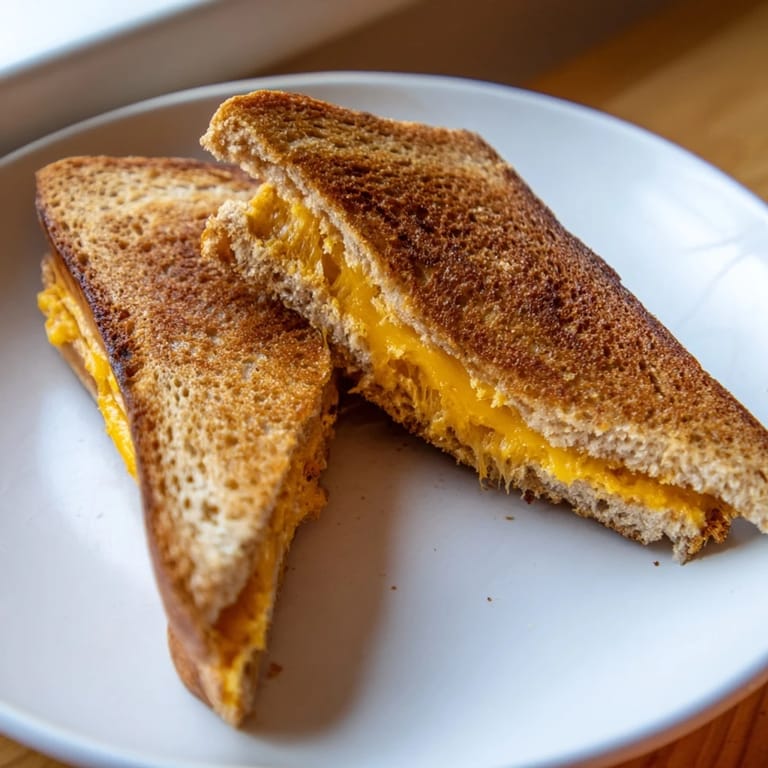
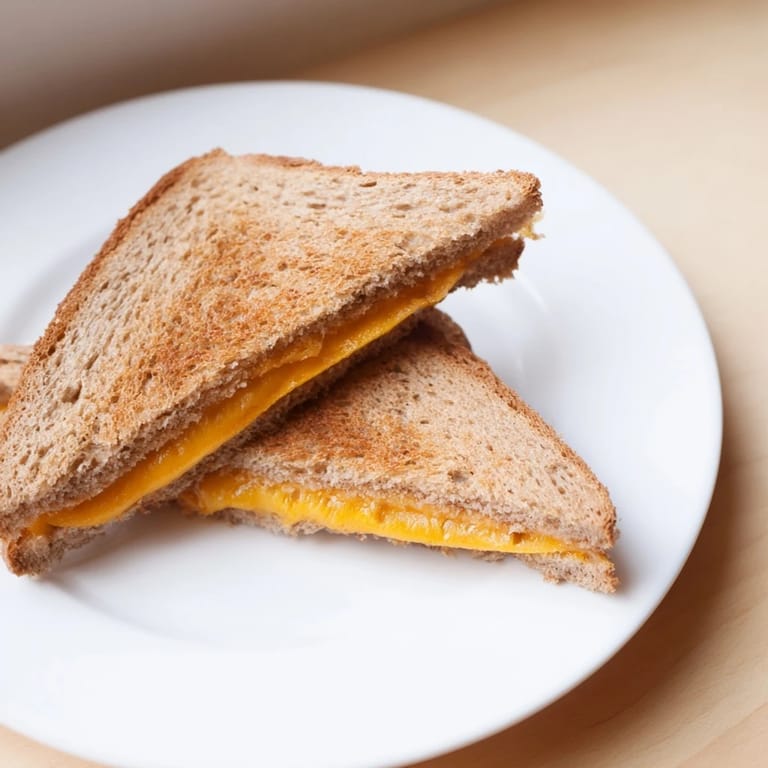
 There's something about the smell of butter hitting hot air that brings me right back to my kitchen on a lazy Tuesday afternoon. I'd been skeptical about making grilled cheese in the air fryer—surely nothing beats a cast-iron skillet and watchful attention—but then I realized I could get that perfect golden crust while actually having time to finish my coffee. Two sandwiches, crispy edges, melted centers, ready in the time it takes to pour juice for the kids. Now it's become my go-to when I need lunch that tastes like I tried harder than I actually did.
I made these for my neighbor one afternoon when she stopped by unexpectedly, and she couldn't believe how quickly they came together. She'd brought over a container of her tomato soup, and watching her tear into that warm sandwich—the cheese pulling in those gorgeous strands—made me realize this simple thing we'd just made together was actually pretty special. Sometimes the best meals aren't complicated; they're just done right and shared with someone who appreciates them.
Ingredients
- Bread: Four slices of white or whole wheat sandwich bread, whatever you have on hand—the sturdier varieties hold up better to flipping without falling apart.
- Cheese: Four slices of cheddar cheese or any cheese that melts well; I've used American, Gruyère, and even sharp cheddar depending on what I'm craving and what's in my fridge.
- Unsalted butter: Two tablespoons softened, which coats each slice evenly and browns better than cold butter ever could.
Tired of Takeout? 🥡
Get 10 meals you can make faster than delivery arrives. Seriously.
One email. No spam. Unsubscribe anytime.
Instructions
- Preheat your air fryer:
- Set it to 180°C (350°F) and let it run for about 3 minutes. This matters more than you'd think; a properly heated basket means faster, more even browning.
- Butter your bread:
- Spread that softened butter on one side of all four slices, making sure to coat right to the edges so every bit browns. Cold butter is stubborn and leaves gaps.
- Build your sandwiches:
- Lay two slices buttered side down, add two cheese slices to each, then top with the remaining bread buttered side up. You want those buttered sides facing outward where the heat can reach them.
- Arrange in the basket:
- Place both sandwiches in the air fryer without overlapping; if they touch, they won't brown evenly. A little space between them is your friend.
- First cook:
- Air fry for 4 minutes. You'll hear a little sizzle and start smelling that toasty butter—that's exactly what you want.
- Flip with care:
- Use a spatula and flip each sandwich gently. The first side should already be golden, and now the second side gets its turn.
- Final cook:
- Air fry for another 3 to 4 minutes until the second side matches the first—deep golden brown and crispy. Every air fryer runs a little different, so watch for color rather than setting a timer in stone.
- Rest and enjoy:
- Let them sit for just a minute so you don't burn your mouth on molten cheese, then slice and serve while they're still warm and the cheese is still pulling.
 Save to Pinterest
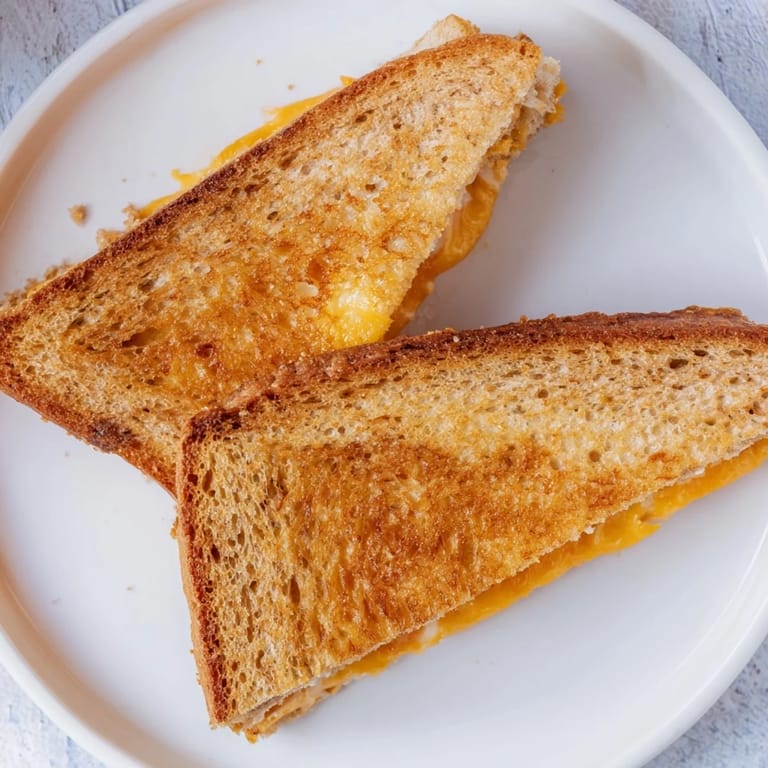
 There was a moment last week when my son bit into one of these and got that perfect stretchy cheese pull, and he just looked up at me like I'd performed magic. That's when I knew these sandwiches had earned their place in our regular rotation, not as a rushed lunch but as something that actually matters at our table.
Variations Worth Trying
Once you nail the basic technique, the possibilities open up in the best ways. I've added thin slices of tomato and fresh basil, layered in crispy bacon that I'd cooked the night before, and even tried a sprinkle of dried oregano mixed into the butter for something with more personality. Each time, the air fryer handled it without complaint, and each time I got that same golden result. The beauty of this method is how forgiving it is; your additions won't throw off the timing or the heat distribution like they might on a stovetop.
Why the Air Fryer Works So Well
The circulating hot air does something a skillet can't—it browns both sides almost simultaneously while the cheese melts steadily in the middle. There's no hot spot that burns one corner, no cold spot that stays pale. You're also not standing there flipping constantly or worrying about whether the heat is right; the air fryer just knows what to do. And honestly, cleanup is a joke compared to buttery stovetop splatter everywhere.
Making It Your Own
The magic of a grilled cheese is how simple it is to customize without complicating the process. Swap the cheese for something sharper or creamier, use mayonnaise instead of butter for even more crunch, or layer in caramelized onions if you're feeling fancy. The air fryer timeline stays the same because you're really just changing the inside; the outside still needs that 4-minute first cook and 3 to 4-minute flip.
- Try brushing the outside with a little bit of mayo for a shatteringly crisp edge that feels indulgent.
- Grated cheese melts faster and more evenly than slices if you're in a real hurry.
- These are best eaten immediately while the cheese is still in that perfect melted state, so plan your timing around hunger, not the other way around.
 Save to Pinterest
 There's something deeply satisfying about a meal so straightforward that anyone can make it and so delicious that nobody questions why you're making it again. This is that meal.
Recipe Questions & Answers
- → Can I use different types of cheese?
Absolutely, cheeses that melt well, such as mozzarella, gouda, or Swiss, work beautifully with this technique.
- → What bread types are best for crispiness?
White and whole wheat sandwich breads both develop a nice crunch, but sturdier breads add extra texture.
- → How can I prevent the sandwich from sogginess?
Applying softened butter evenly on the outer bread sides helps create a crisp, golden crust and prevents sogginess.
- → Is flipping necessary during cooking?
Yes, flipping halfway ensures both sides brown evenly and the cheese melts thoroughly.
- → Can I add extra fillings?
Feel free to include sliced tomatoes, cooked bacon, or fresh herbs to customize flavors.