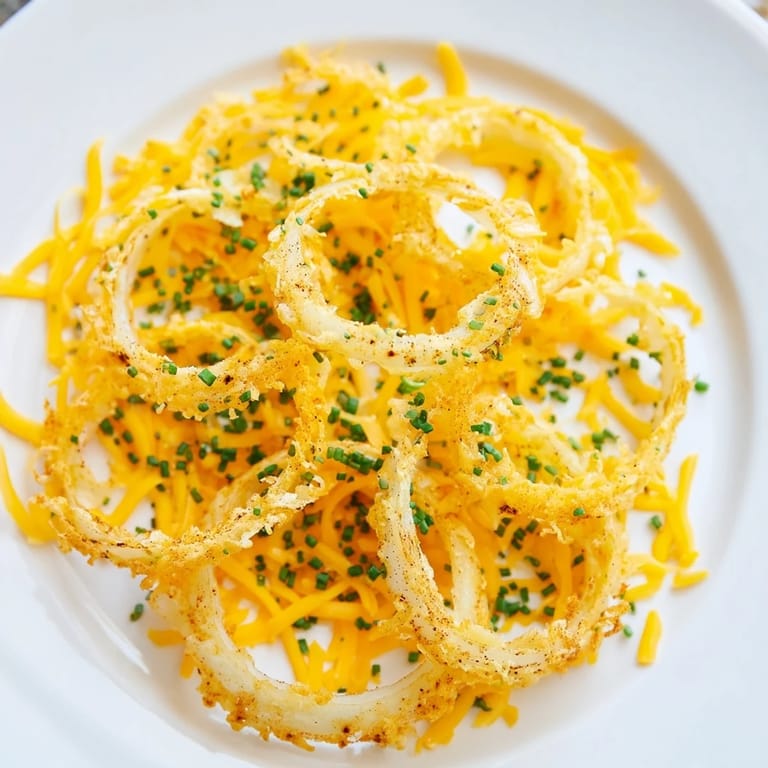
 Save to Pinterest
 I discovered these by accident on a Tuesday afternoon when I was searching my freezer for something to snack on and found a bag of onions I'd forgotten about. Instead of tossing them, I wondered what would happen if I treated them like chips—sliced thin, topped with cheese, and thrown into the air fryer. Twenty minutes later, I pulled out golden, impossibly crispy rounds that tasted like the best parts of a cheesy onion dip, but crunchy. My partner walked in asking what smelled so good, and I handed her one without explanation. She came back for three more.
I made a batch for a game night last month, worried they'd be too weird or not substantial enough to pass around. Instead, they disappeared faster than the dip, and everyone was asking for the recipe. One friend said they reminded her of crispy onions you'd find on top of a casserole, but better because you could actually taste the onion and cheese without the confusion of everything else.
Ingredients
- Yellow onions (2 medium): The thin slicing is everything here—I aim for about an eighth-inch, and a mandoline makes this painless if you have one.
- Cheddar cheese (1 cup, 100 g): Sharp cheddar gives better flavor than mild, and the fat content is what makes them crispy on the edges.
- Mozzarella cheese (1/2 cup, 50 g): This helps everything melt together smoothly and adds that stretchy, crispy quality.
- Garlic powder (1/2 teaspoon): Not fresh garlic—powder browns better and won't burn in the air fryer.
- Smoked paprika (1/2 teaspoon): Adds a subtle depth that makes people ask what the secret ingredient is.
- Black pepper (1/4 teaspoon): Freshly ground makes a real difference in the final bite.
- Salt (1/4 teaspoon): The cheese brings salt too, so don't go overboard here.
- Fresh chives or parsley (1 tablespoon, optional): A pinch of green at the end looks nice and adds a tiny bit of freshness.
Tired of Takeout? 🥡
Get 10 meals you can make faster than delivery arrives. Seriously.
One email. No spam. Unsubscribe anytime.
Instructions
- Slice and dry your onions:
- Cut the onions into rings about an eighth-inch thick and separate them gently—you want individual rings, not nested ones. Pat them completely dry with paper towels because moisture is the enemy of crispiness, and trust me, I learned this the wet way.
- Get your air fryer ready:
- Preheat to 375°F (190°C) while you're prepping—this takes about 3 minutes and means you're not waiting around later.
- Arrange in a single layer:
- Line your air fryer basket with parchment paper and lay the onion rings flat in one layer, making sure they're not piled on top of each other or they'll steam instead of crisp.
- Mix your cheese blend:
- In a bowl, combine both cheeses with the garlic powder, smoked paprika, pepper, and salt—this prevents clumping and ensures even seasoning across every ring.
- Coat generously:
- Coat generously:
- Sprinkle the cheese mixture over each onion ring like you're tucking it in, making sure every visible bit of onion gets covered.
- Air-fry until golden:
- Cook for 8 to 12 minutes, checking around the 8-minute mark—cheese browns faster than you'd expect, and you want golden, not black. The onions should be tender and the cheese should have those crispy, darker edges.
- Let them rest and crisp:
- Leave them in the basket for 2 to 3 minutes after turning off the air fryer so they firm up as they cool slightly.
- Finish and serve:
- Carefully transfer to a plate (they're fragile while warm), add fresh herbs if you're feeling fancy, and eat them while they're still warm and crunchy.
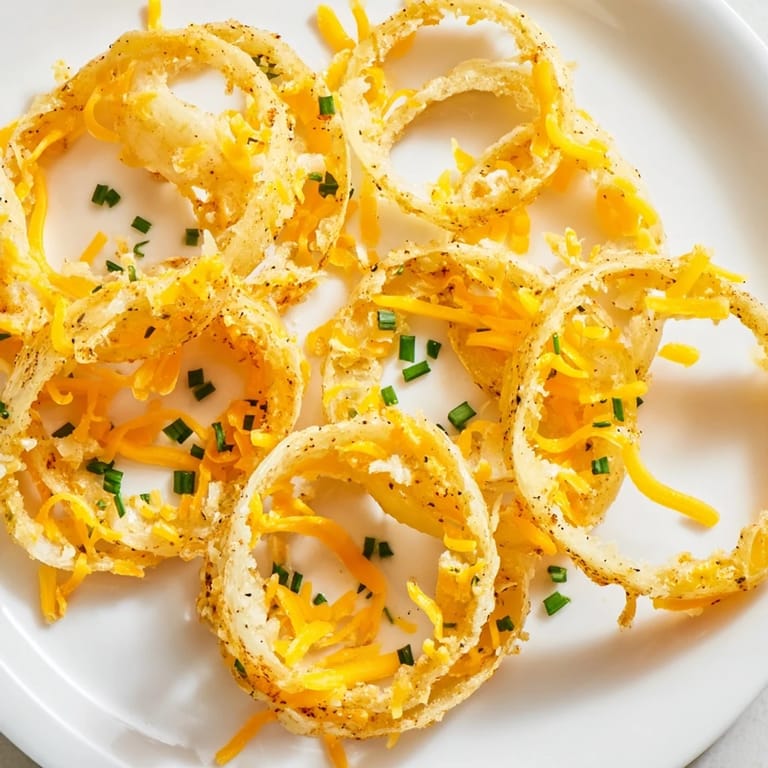 Save to Pinterest
 The thing I love most about these is that they feel like a snack you'd buy at a fancy food market, but you made them in your kitchen in less time than it takes to watch a TV episode. My mom now texts me for the recipe whenever she's doing a keto thing, which is the highest compliment I can give a recipe.
Why These Work As a Snack
In a world of bland low-carb options, these actually taste good without pretending to be something they're not. They're not trying to replace potato chips or convince you they're a vegetable—they're their own thing, crispy and savory and satisfying. The cheese gets dark and a little caramelized, the onion caramelizes too, and together they create something with real flavor depth.
Flavor Twists That Work
Once you've made them basic, you can start playing around. I've added grated Parmesan on top for extra nuttiness, sprinkled chili flakes into the cheese mix for heat, and even mixed in a tiny bit of curry powder one afternoon. The base is so solid that it can handle additions without falling apart.
Storage and Leftovers
They're honestly best eaten right away when they're still warm, but I won't pretend I haven't saved them in an airtight container and reheated them the next day. Just throw them back in the air fryer at 350°F for about 2 minutes to bring back the crunch—they come back almost like new.
- Store in an airtight container at room temperature and they'll keep for 3 to 4 days, though they get softer as time passes.
- Reheating in the air fryer is the only way to resurrect them; the microwave will turn them into sad leather.
- These don't freeze well, so make them fresh or eat the leftovers within a couple days.
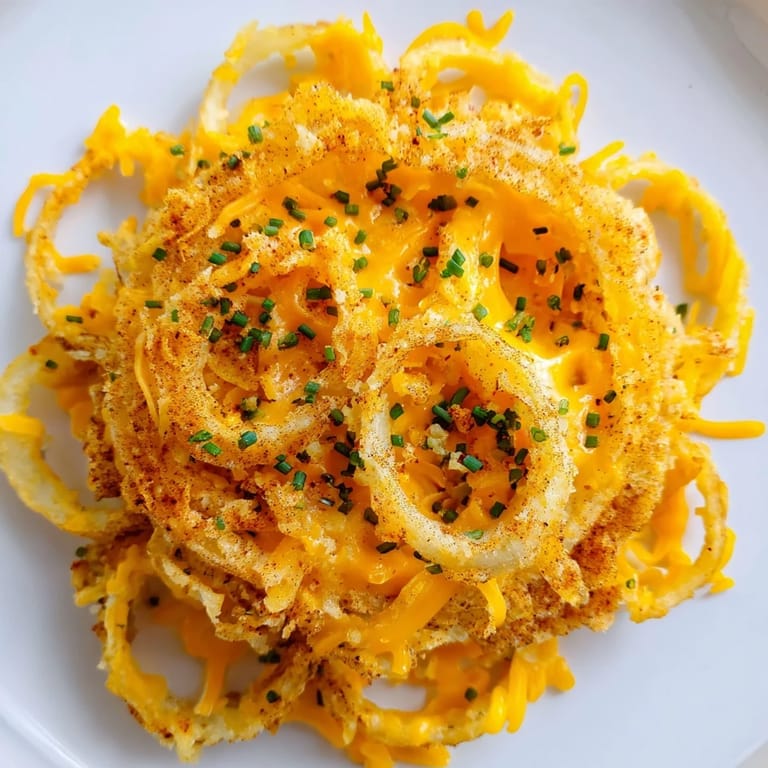 Save to Pinterest
 These chips proved to me that some of the best snack discoveries come from not throwing things away and just experimenting. Make a batch this week and see what you think.
Recipe Questions & Answers
- → How do I achieve extra crispiness in these chips?
Pat the onion rings thoroughly dry before coating and air frying. Using sweet onions like Vidalia can also enhance crispness and flavor.
- → Can I substitute the cheeses used?
Yes, grated Parmesan or a different blend of cheeses can add unique flavors and textures to the chips.
- → What is the recommended air fryer temperature and time?
Preheat the air fryer to 375°F (190°C) and cook the chips for 8 to 12 minutes until cheese is golden and onions are tender.
- → Are these chips suitable for low-carb diets?
Yes, using thin onion slices with melted cheese creates a satisfying, low-carb snack option.
- → How should leftovers be stored and reheated?
Store chips in an airtight container and re-crisp them in the air fryer for about 2 minutes before serving.