 Save to Pinterest
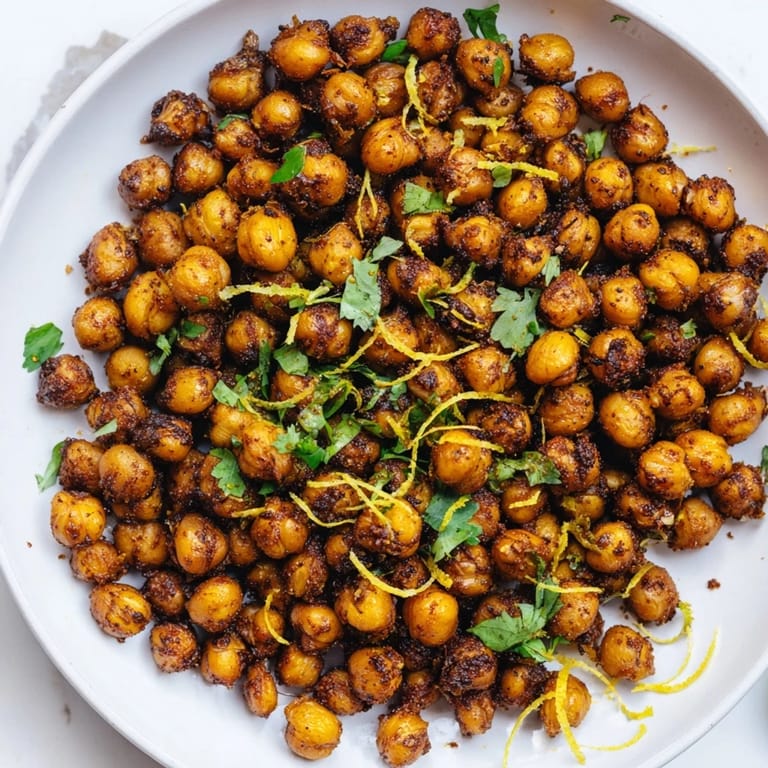
 My kitchen smelled incredible the afternoon I first tried harissa chickpeas—not by design, but because I'd accidentally left a tin of chickpeas in the pantry and forgotten about it until I was hunting for something crunchy to add to my lunch. A jar of harissa caught my eye, dusty from being shoved behind the olive oil bottles, and I thought: why not? Twenty minutes later, golden little gems were tumbling out of the oven, and my roommate wandered in asking what smelled so good. That accident became something I now make intentionally, every single time.
I brought these to a potluck last fall where everyone was tired of the same sad store-bought crackers and hummus platters. Someone asked what was in the bowl, and when I said "just roasted chickpeas," they looked skeptical until they tasted one. By the end of the evening, the sheet was empty and three people were asking for the recipe. It felt good to be the person who showed up with something unexpected that actually landed.
Ingredients
- Cooked Chickpeas: Use canned, drained and rinsed well—the water matters because you want them dry for maximum crispiness, and rinsing removes the starchy film that prevents browning.
- Olive Oil: Just enough to coat without creating a greasy finish; too much oil and they stay chewy instead of getting that shattering crunch.
- Harissa Spice Blend: This is where the magic lives—it brings smokiness, heat, and complexity without needing a dozen jars of spices.
- Smoked Paprika: Deepens the flavor and adds a slightly mysterious warmth that plays beautifully with harissa.
- Ground Cumin: Adds earthiness and ties the whole flavor profile together in a way cumin always does.
- Garlic Powder: Brings savory depth without the burn of fresh garlic, which can scorch during roasting.
- Sea Salt: Enhances every flavor and helps the chickpeas brown more evenly.
- Lemon Zest and Fresh Herbs: Optional but transformative—they brighten everything right before serving and make people think you spent way more effort than you did.
Tired of Takeout? 🥡
Get 10 meals you can make faster than delivery arrives. Seriously.
One email. No spam. Unsubscribe anytime.
Instructions
- Heat your oven and prepare your stage:
- Preheat to 400°F and line a baking sheet with parchment paper so cleanup is effortless and nothing sticks.
- Dry your chickpeas completely:
- Pat them down with a clean kitchen towel, removing as many of those papery skins as you can find—they're the enemy of crispiness and will blow off during roasting anyway. This step sounds tedious but it's genuinely the difference between chewy and crackling.
- Build the coating:
- Toss the chickpeas in a bowl with olive oil first, then add all the spices at once—this ensures even distribution and prevents any bitter spots where spice concentrated. You want every chickpea to be dressed the same.
- Spread and roast:
- Arrange them in a single layer on the baking sheet without crowding; they need room to breathe and turn golden. Shake the pan halfway through so the ones on the bottom don't catch too hard, then keep roasting until they're genuinely crispy—you're looking for a deep golden color and a sound like stepping on gravel when you bite one.
- Finish while hot:
- The moment they come out of the oven is when they're most receptive to lemon zest and fresh herbs; the heat coaxes out the oils in the herbs and melds everything together. Let them cool for just a minute or two before tasting, because hot chickpeas are fragile and too-soft; cool ones shatter.
 Save to Pinterest
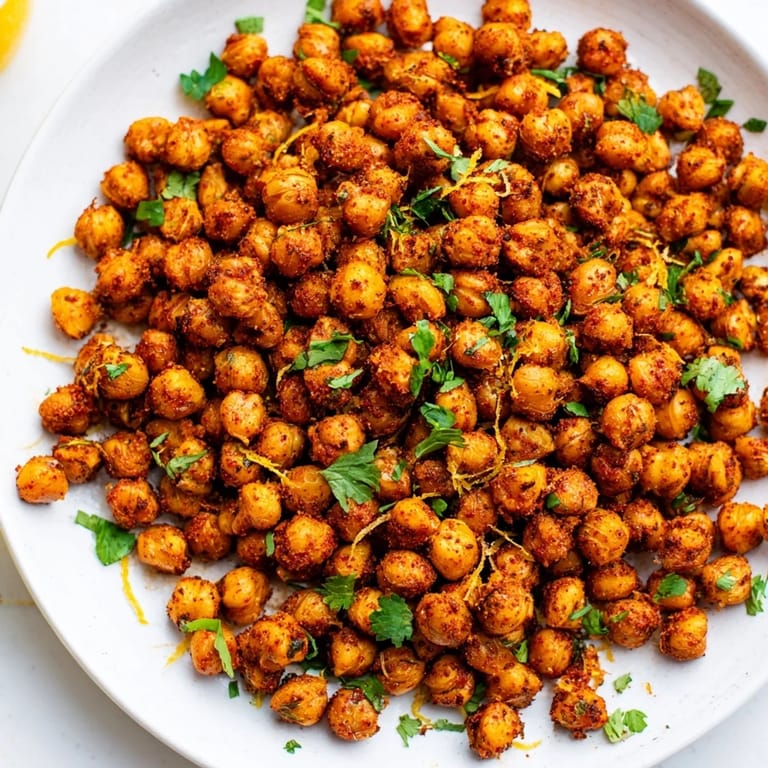
 These chickpeas became my dad's favorite thing to steal from my kitchen. He'd show up unannounced, go straight to the container, and eat them standing at the counter while telling me about his day. It became our small ritual, and now I always make extra knowing he's going to ask.
Flavor Combinations That Work
Once you've mastered the base, the spice blend is your playground. Harissa is bold and smoldering, but you can absolutely play with it—a pinch of cayenne pushes the heat, sumac adds a bright tartness, or a tiny shake of cinnamon brings unexpected warmth. Some mornings I add curry powder for something earthier, other times just cayenne and salt when I want to taste the chickpeas themselves. The beauty is that they're forgiving enough to experiment with, so you can keep them interesting without starting from scratch.
Ways to Use Them Beyond the Bowl
I stopped thinking of these as just a snack pretty quickly. They've become my secret weapon for making salads feel substantial—a handful scattered over greens with feta and pomegranate seeds feels elegant but requires zero extra cooking. Grain bowls get a serious upgrade when you crown them with crispy chickpeas instead of soft roasted vegetables. Even tacos benefit from the crunch and the heat they bring; they're especially good in a cauliflower taco situation where you need textural contrast.
Storage and Keeping Them Crisp
These store beautifully in an airtight container for three or four days, though I rarely have them last that long. If they do start softening (humidity is their enemy), just spread them on a sheet and blast them under the broiler for a couple of minutes—they'll snap back to life and taste like you just made them. Some people keep them in the freezer in an airtight container, and while they don't regain perfect crispiness, they're still remarkably good straight from the freezer for a quick snack.
- An airtight container is non-negotiable; they'll go soft in an hour otherwise.
- Room temperature is fine; they don't need refrigeration, which is one of their best qualities.
- If they do soften, a quick reheat at high heat fixes everything—never resign yourself to chewy chickpeas.
 Save to Pinterest
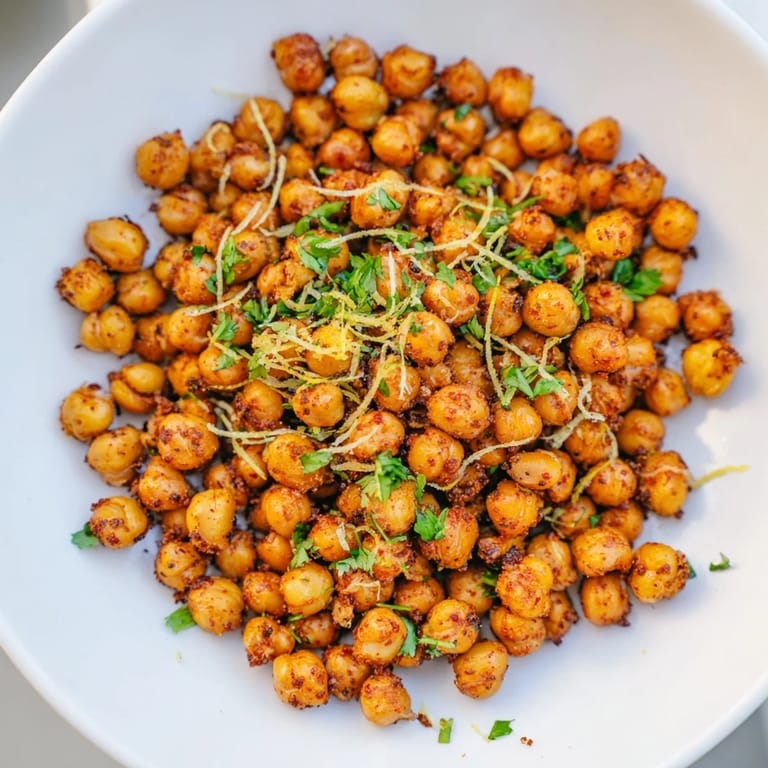
 These chickpeas taught me that the best recipes are often the simple accidents, the ones that happen because you grabbed what was in front of you. Now they're a constant in my kitchen, and every time I roast a batch, I'm reminded that sometimes the most satisfying things come from the least complicated decisions.