 Save to Pinterest
 My zero-waste journey found its perfect companion in this simple vegetable broth. During one particularly cold January, I started collecting kitchen scraps in a container by the cutting board instead of tossing them. What began as an experiment to reduce waste transformed into liquid gold that elevated every soup and stew in my repertoire. The gentle simmer filling my kitchen with healing aromas became a Sunday ritual I now can't imagine living without.
Last winter when my neighbor was recovering from surgery, I brought over jars of this golden broth along with some fresh bread. Her eyes lit up as she sipped it straight from the mug, steam rising between us. We sat at her kitchen table sharing stories, and she confessed that the simple broth made her feel cared for in a way that a more complicated dish somehow wouldn't have. Sometimes the humblest foods carry the most comfort.
Ingredients
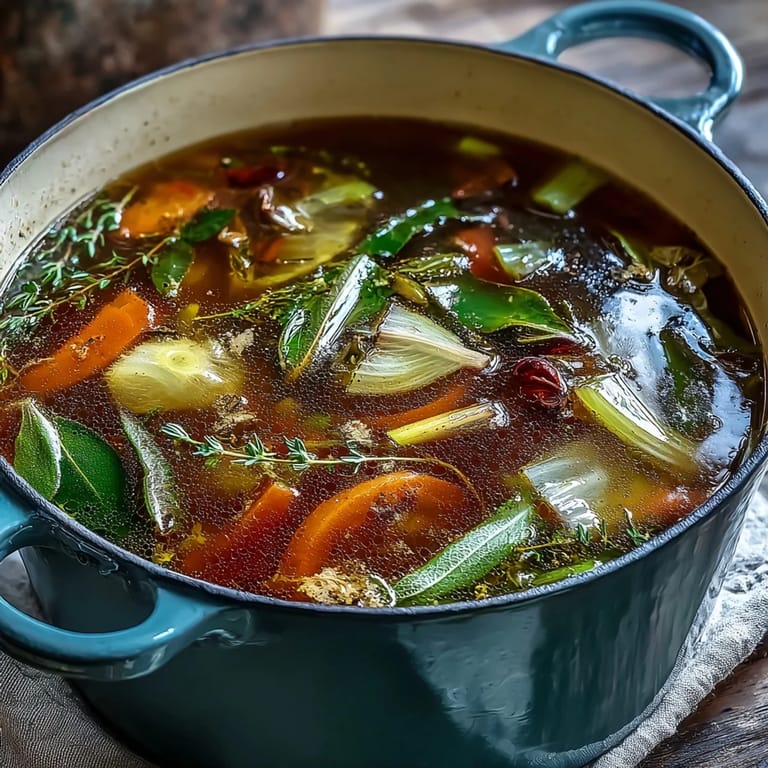
- Vegetable Scraps: Collect onion skins, carrot peels, celery ends and herbs stems, but avoid brassicas like broccoli or cabbage which can make your broth bitter and overpowering.
- Aromatics: Bay leaves and peppercorns create a foundation of flavor that works with any combination of scraps you've gathered.
- Cold Water: Always start with cold water as it slowly extracts flavors as it heats, rather than shocking and sealing vegetable cells with hot water.
Tired of Takeout? 🥡
Get 10 meals you can make faster than delivery arrives. Seriously.
One email. No spam. Unsubscribe anytime.
Instructions
- Collect with Purpose:
- Throughout the week, save clean vegetable trimmings in a container in your freezer, aiming for a colorful variety but avoiding anything moldy or spoiled.
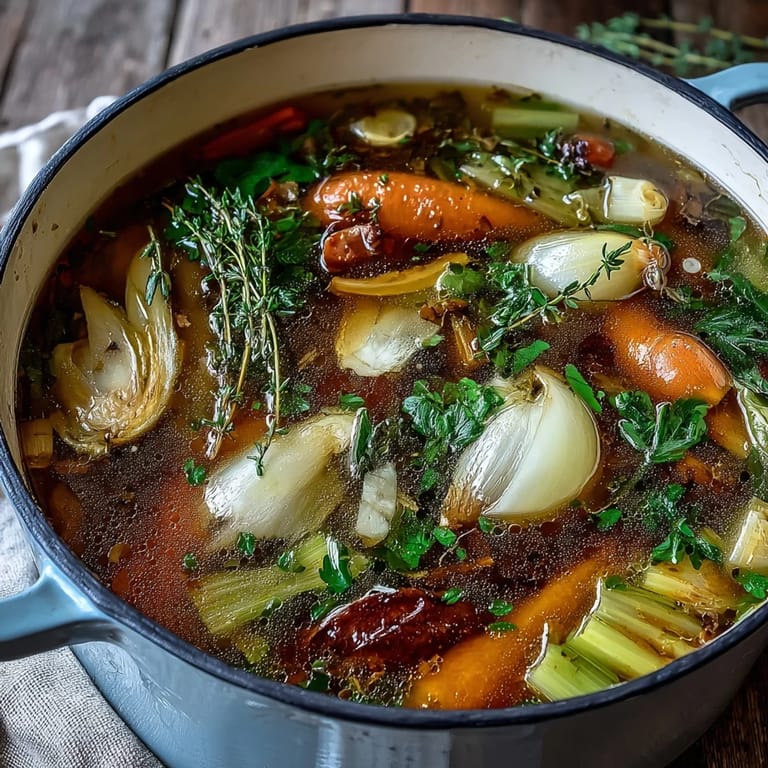
- Assemble Your Pot:
- Layer your frozen or fresh scraps with aromatics in a large pot, then cover completely with cold water, watching as the colors begin to swirl together.
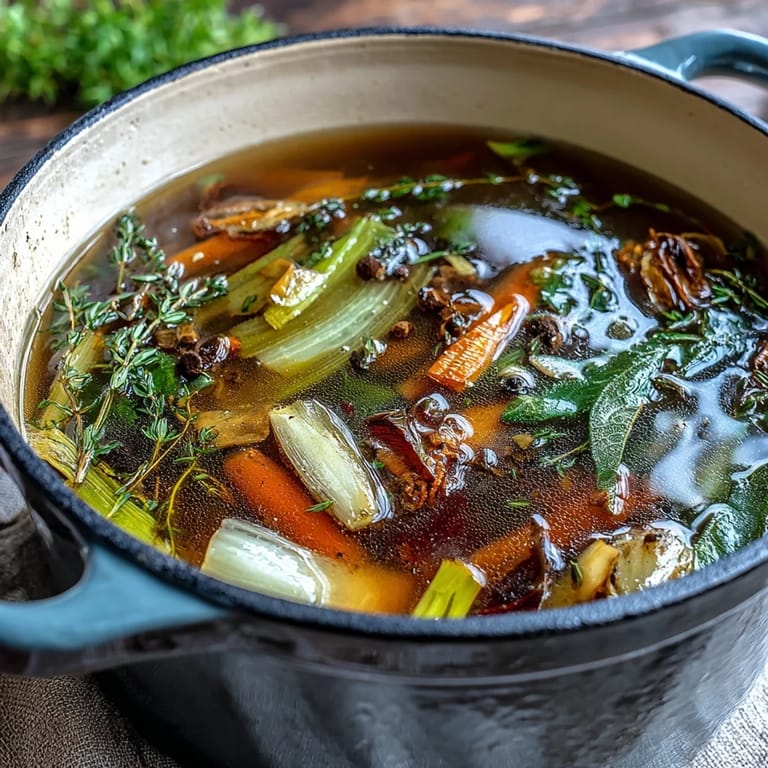
- The Gentle Simmer:
- Bring everything to a boil before reducing to a whisper of a simmer, letting heat work its alchemy without agitation that could cloud your broth.
- Skim Occasionally:
- Use a spoon to remove any foam that rises to the surface, which helps create a cleaner, clearer finished product.
- Strain and Store:
- Pour through a fine-mesh sieve, pressing gently on the solids to extract maximum flavor without forcing cloudy bits through.
 Save to Pinterest
 The first time my five-year-old niece helped me make this broth, she peered into the pot with genuine wonder, asking where the magic happened that turned garbage into treasure. Her small hands carefully dropped in each vegetable piece as she named them, and when we strained the finished broth, she proudly carried a small cup to everyone in the house. That day, cooking became alchemy in her eyes, and perhaps the seeds of her own kitchen adventures were planted.
Freezing Your Liquid Gold
I discovered that freezing broth in ice cube trays creates perfect portion sizes for when you need just a splash to deglaze a pan or add moisture to a sauce. Once frozen, transfer the cubes to a labeled freezer bag, and you can grab exactly what you need without thawing an entire container. Those little cubes have saved countless weeknight meals that needed a quick flavor boost.
Customizing Your Flavor Profile
Over the years, Ive learned to create themed broths based on cuisine types. For Asian-inspired dishes, I include ginger peels, lemongrass trimmings, and sometimes a piece of dried kombu. For Mediterranean flavors, I add fennel fronds, more garlic, and parsley stems. These intentional variations make a subtle but noticeable difference when the broth becomes part of a larger dish.
Beyond Soup Base
While I initially made this broth exclusively for soups, it has become an essential ingredient throughout my kitchen. I use it to cook grains like rice or quinoa, as the liquid for braising vegetables, and even as the base for homemade gravy or sauce reductions.
- Try sipping a small cup of hot broth with a squeeze of lemon when youre feeling under the weather.
- Use it to thin out thick dips or spreads that need loosening without diluting flavor.
- Freeze some in popsicle molds for your dog on hot days as a healthy, hydrating treat.
 Save to Pinterest
 This simple broth represents everything I love about thoughtful cooking - transformation, patience, and the beautiful cycle of kitchen waste becoming nourishment again. Each batch tells the story of meals past while creating possibilities for meals to come.
Recipe Questions & Answers
- → What vegetables should I avoid putting in broth?
Skip potato peels, brassicas (broccoli, cauliflower, cabbage), and overly starchy or sweet vegetables. These can make your broth bitter, cloudy, or overly sweet. Stick with carrot peels, onion skins, celery ends, leek tops, mushroom stems, and fresh herb trimmings.
- → How long does homemade vegetable broth last?
Store your strained broth in airtight containers in the refrigerator for up to 5 days, or freeze for up to 3 months. Consider freezing in ice cube trays or 1-cup portions for easy portioning in future cooking.
- → Can I make this broth without salt?
Absolutely. Adding salt is optional and completely up to your taste preferences. If you plan to use the broth in other dishes or reduce it significantly, it's often better to leave it unsalted and season your final dish instead.
- → What's the best way to collect vegetable scraps?
Keep a large container or freezer bag in your freezer and add clean vegetable trimmings as you cook. When you've accumulated about 4 cups, you're ready to make a batch of broth. This ensures you always have scraps ready and reduces food waste.
- → How can I make the broth more flavorful?
Roast the vegetable scraps at 200°C (400°F) for 20 minutes before simmering to develop deeper, caramelized flavors. You can also add a piece of kombu seaweed or dried mushrooms for extra umami richness, or include additional fresh herbs like rosemary or parsley.
- → What can I use this broth for?
Use this versatile broth as a base for soups, stews, and sauces, or for cooking grains like rice, quinoa, and couscous. It's also delicious enjoyed warm on its own as a nourishing drink, or added to risottos and curries for depth of flavor.