 Save to Pinterest
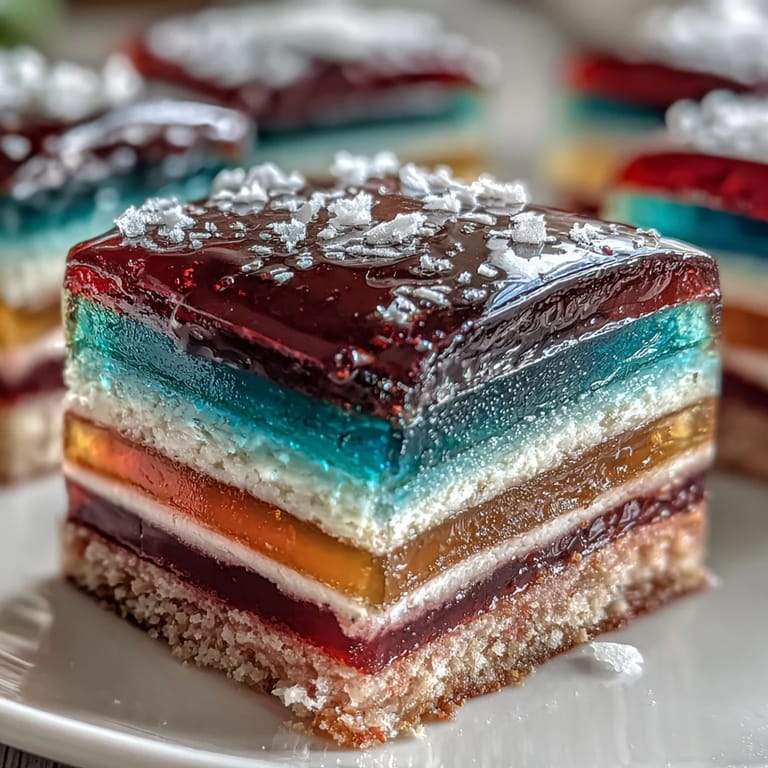
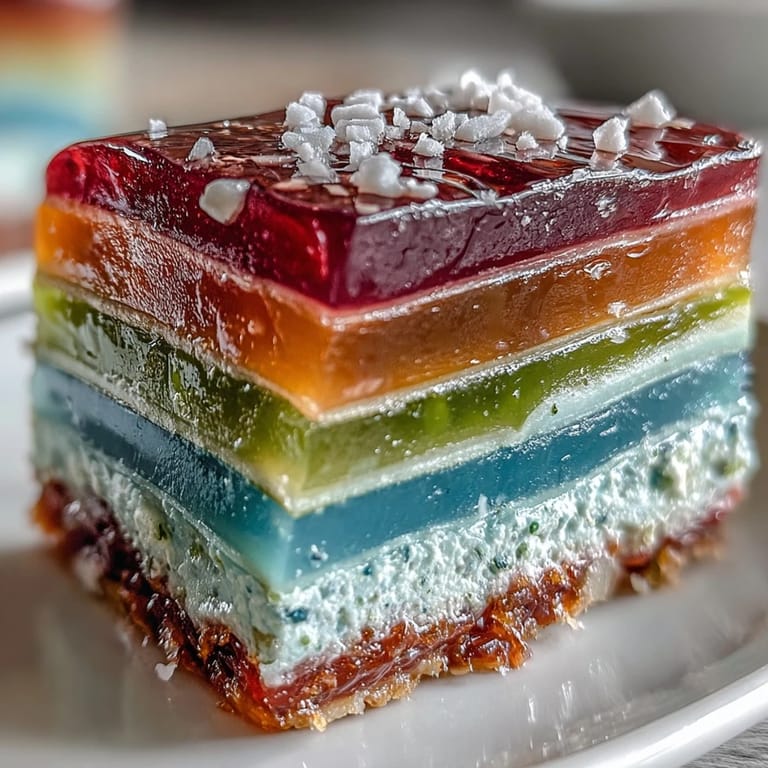
 The first time I made this Rainbow Jelly Cake, my kitchen looked like an artist’s studio – every counter lined with bowls of jewel-toned liquid, and not a white dish towel left in sight. The gentle sound of bubbling agar-agar, mixed with bursts of laughter from a friend helping me layer colors, turned a rainy afternoon into a burst of creative cheer. No matter how carefully we poured, the colors sometimes swirled at the edges, but it only added to the cake’s charm. It became an instant conversation piece, and the aroma of coconut drifting through the house signaled something truly special was in the works.
I remember setting this cake in the fridge just as my neighbor popped by unannounced, eyes wide at the layered colors resting on the counter. We spent the next hour talking about childhood summer desserts, poking at the first layers to see if they’d set, and sneaking spoonfuls of warm coconut cream straight from the spoon.
Ingredients
- Agar-agar powder: The foundation for these perfect, springy layers – measure carefully and dissolve fully for a flawlessly smooth result.
- Water: Using filtered water keeps the colors bright and the texture pristine, so I always reach for the best I’ve got.
- Granulated sugar: Don’t be tempted to reduce the sugar too much; it enhances the colors and rounds out the flavors beautifully.
- Food colorings (red, orange, yellow, green, blue, purple): Gel colorings give the most vibrant results with just a small drop – a little goes a long way.
- Vanilla extract (optional): Adds a subtle undertone, though sometimes I swap it for rose or pandan if I’m feeling adventurous.
- Coconut cream: For the creamiest finish, choose a brand with a high coconut content and minimal stabilizers.
- Salt: Just a pinch intensifies the coconut flavor and balances the sweetness.
Tired of Takeout? 🥡
Get 10 meals you can make faster than delivery arrives. Seriously.
One email. No spam. Unsubscribe anytime.
Instructions
- Bloom the Base:
- In a medium saucepan, sprinkle agar-agar powder over water and bring to a steady boil, whisking constantly until the powder disappears into translucence.
- Sweeten and Scent:
- Stir in the sugar and, if you like, a swirl of vanilla extract. Wait for the sugar to melt and the mixture to smell subtly sweet before moving to the next step.
- Color Play:
- Pour the clear agar mixture into six bowls, then tint each one into a vivid hue, marveling as they transform from clear to rainbow-bright right in front of you.
- Mold the Layers:
- Starting with the red, pour a layer into your mold and let it sit just until a finger pressed on top leaves no mark. Repeat for each color, taking care not to rush -- patience is part of the beauty here.
- Coconut Cream Magic:
- In a clean saucepan, combine coconut cream, water, agar-agar, and sugar. Whisk gently over low heat until it’s fragrant and just thickened, with a glimmer of steam rising as you near the finish.
- Final Pour:
- Once the last color has set, pour the warm coconut mixture on top, letting it gently blanket the rainbow before cooling.
- Chill & Reveal:
- Slide the pan into the fridge for at least an hour, then loosen the sides and tip it onto a plate -- the jiggly reveal is always a showstopper.
- Slice & Serve:
- With a sharp knife, cut neat slices or playful cubes, and serve up with a grin while it’s chilled and just barely shimmering.
 Save to Pinterest
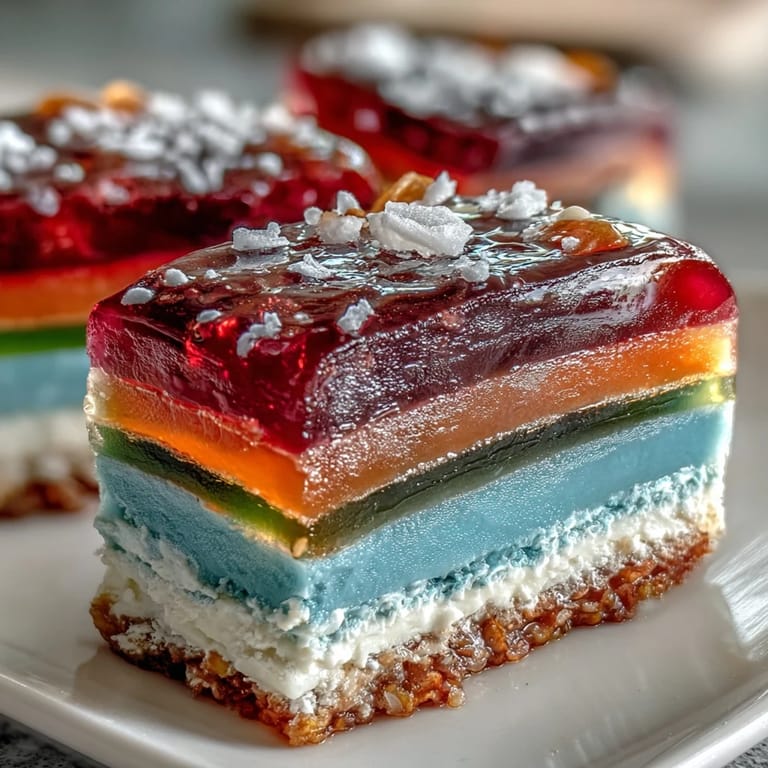
 One birthday, my nephew insisted on blowing out his candles on this jelly cake instead of any bakery confection. The entire table sang as he admired the wobbly, colorful stripes, and for a moment, dessert felt like the gift itself.
Layering Without Stress
Some days, I rush and the layers slope or bubble. If it happens, I remind myself that imperfect lines just mean homemade love – and guests always appreciate flavor over symmetry.
Making It Allergy-Friendly
Using certified vegan agar-agar and checking food color labels keeps this cake welcoming for more friends. I’ve even tried natural juices as colorants when I felt like skipping the artificial stuff, with delightfully soft hues.
Serving and Storing for Maximum Freshness
Rainbow jelly cake is best served well-chilled, straight from the fridge, with slices that glisten in the afternoon light.
- Always cover tightly to keep flavors vivid.
- If bringing to a party, unmold at the last minute for best drama.
- Leftovers make a bright midday snack with some fresh fruit on the side.
 Save to Pinterest
 No matter how many times I make this, slicing into those vibrant layers always feels a bit magical. It’s one of those desserts that turns any day into a celebration.
Recipe Questions & Answers
- → How does agar-agar set compared to gelatin?
Agar-agar sets firmer and at room temperature once cooled, producing a clean, slightly springy gel. It needs boiling to dissolve fully and sets quickly as it cools, so work efficiently when pouring layers.
- → How long should I wait between pouring each layer?
Allow each colored layer to cool and become just set at the surface (about 5–8 minutes in a shallow mold) before pouring the next. This prevents colors from sinking while still bonding layers together.
- → How can I avoid color bleeding between layers?
Cool each layer until it forms a skin but is still slightly warm; pour gently and use a spoon or offset spatula to soften the stream. Avoid pouring very hot liquid directly onto set layers.
- → Can I substitute coconut cream with coconut milk?
Full-fat coconut cream gives a richer, firmer finishing layer. If using coconut milk, reduce added water or increase agar slightly to achieve the same set and creaminess.
- → What’s the best way to slice for neat portions?
Chill the cake until fully firm, run a sharp knife under hot water and wipe dry between cuts. For cubes, use a straight-edged knife and steady pressure to avoid smearing layers.
- → How long will the finished cake keep in the fridge?
Stored covered in the refrigerator, the jelly cake keeps well for up to 3 days. Keep it airtight to prevent flavor absorption and surface drying.